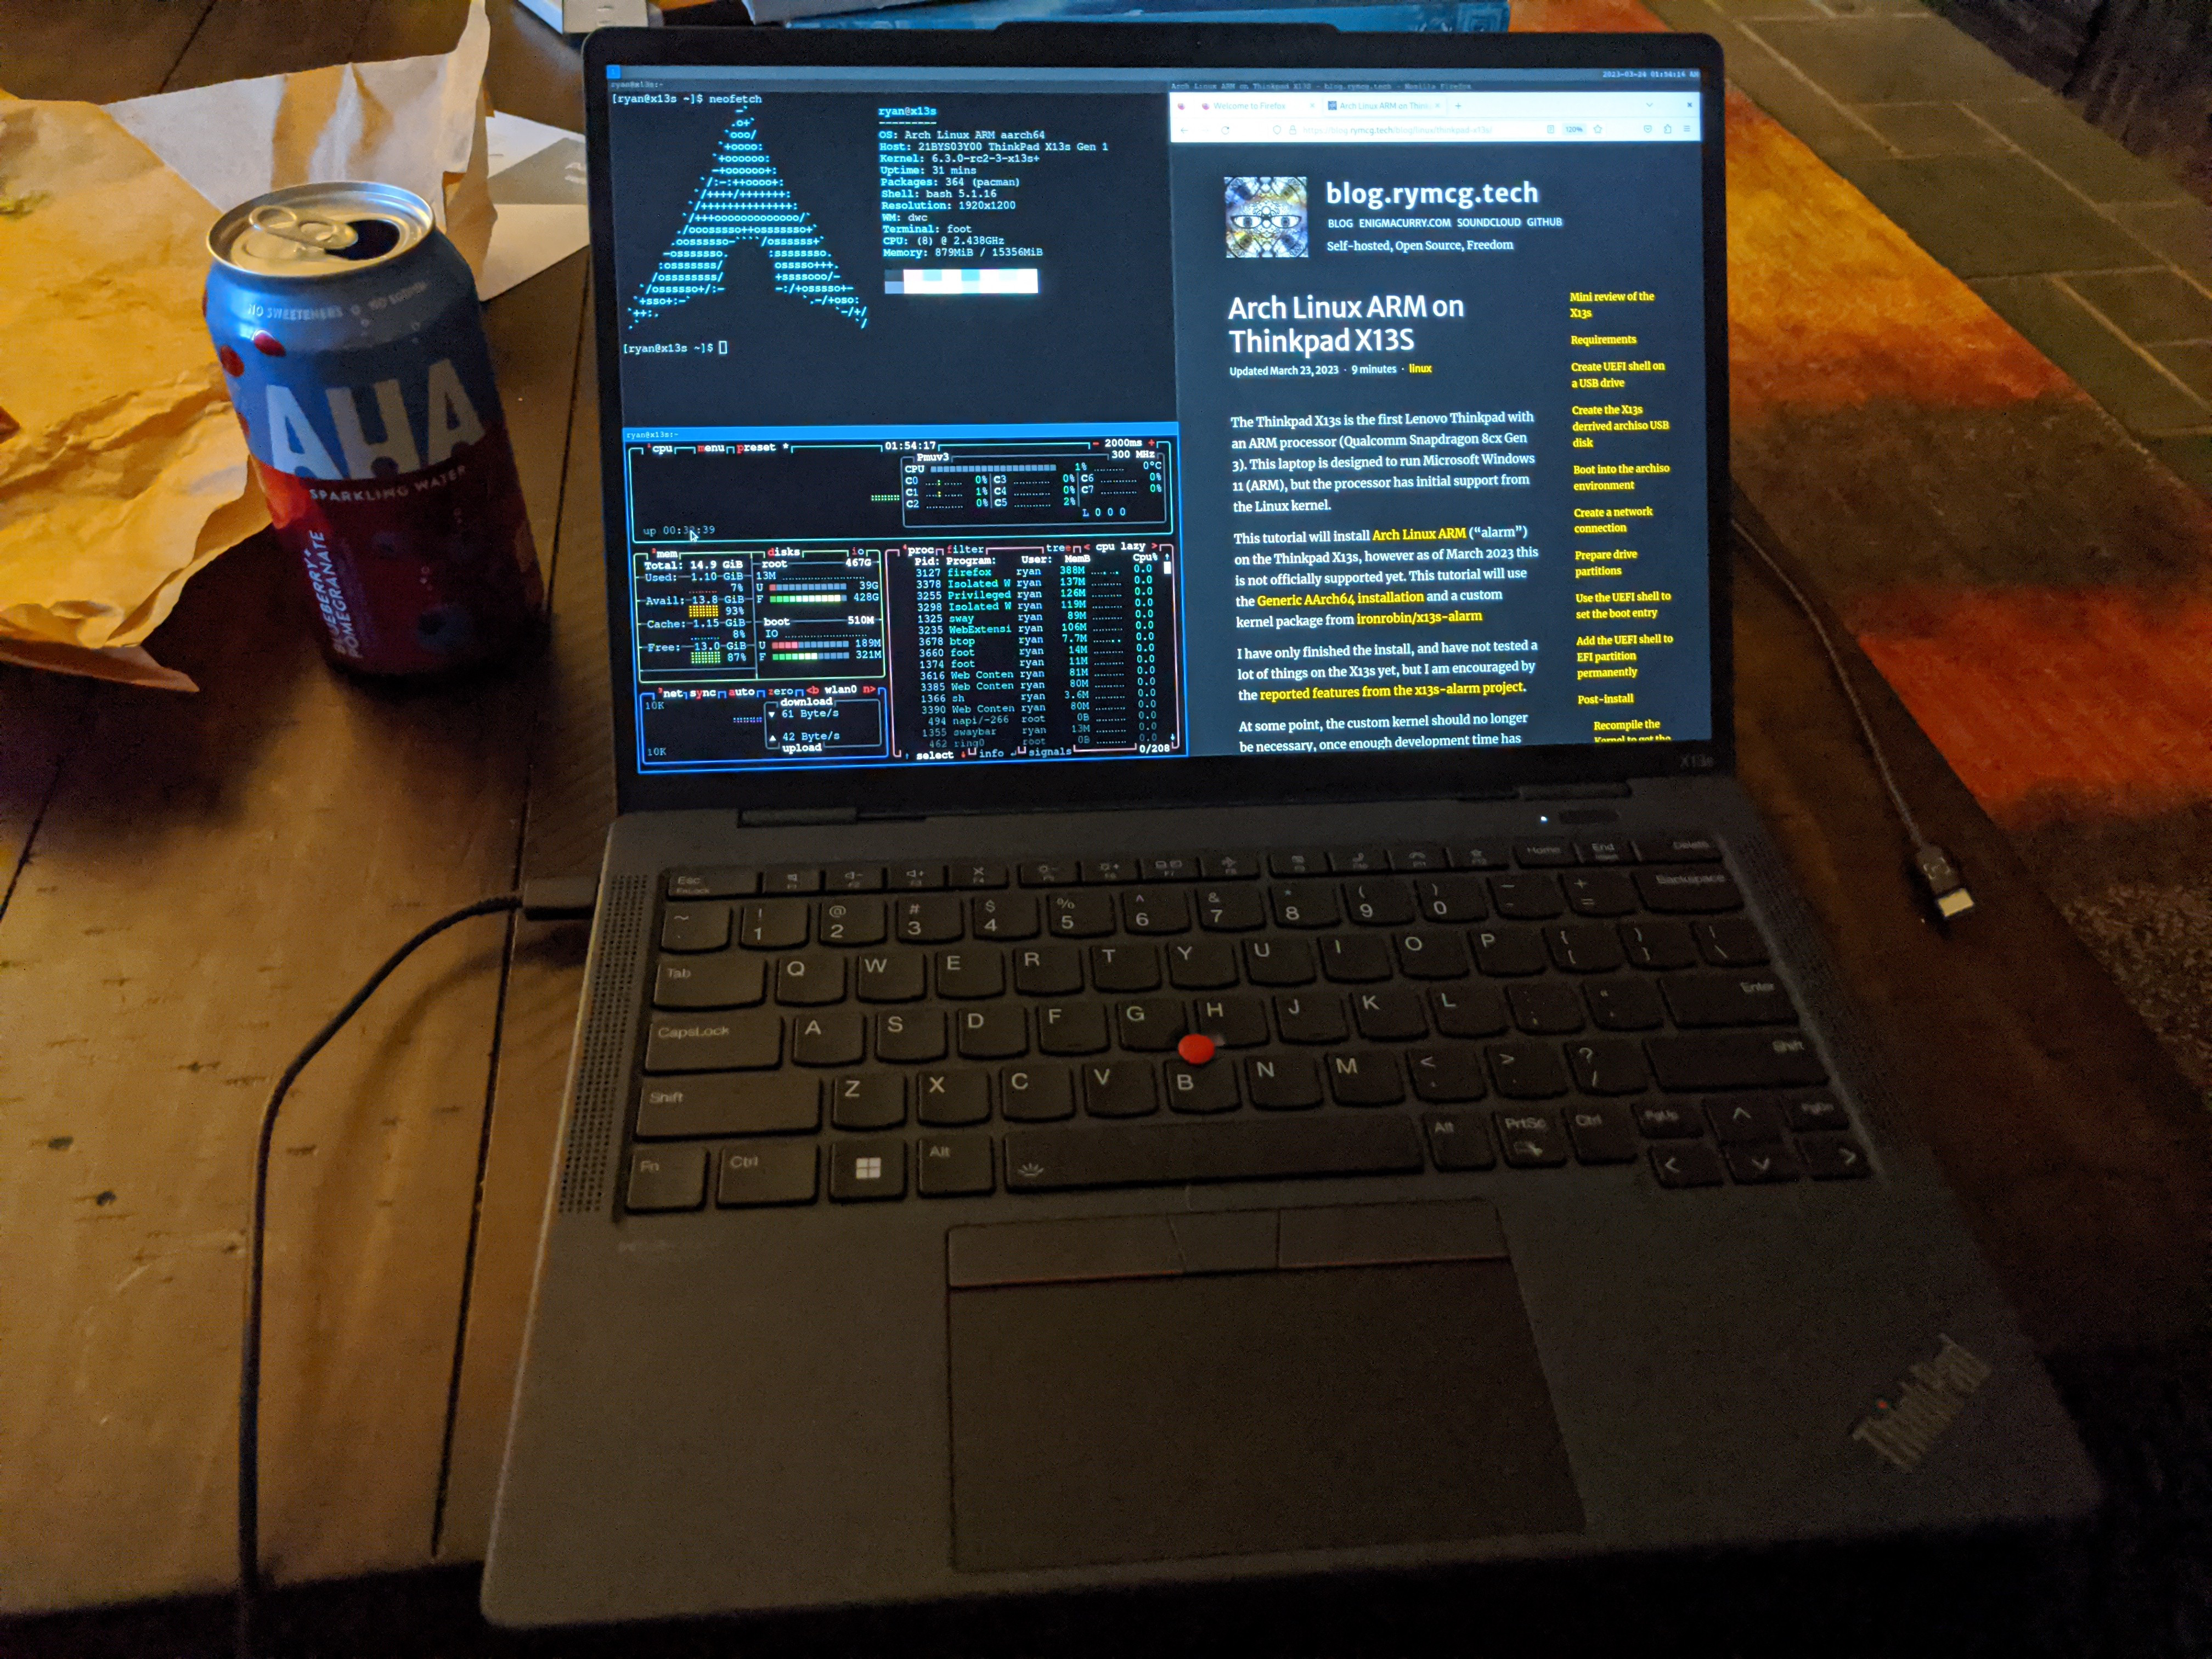
Arch Linux ARM on Thinkpad X13S
The Thinkpad X13s is the first Lenovo Thinkpad with an ARM processor (Qualcomm Snapdragon 8cx Gen 3). This laptop is designed to run Microsoft Windows 11 (ARM), but the processor has initial support from the Linux kernel.
This tutorial will install Arch Linux ARM (“alarm”) on the Thinkpad X13s, however as of March 2023 this is not yet officially supported. This tutorial will use the Generic AArch64 installation and a custom kernel package from ironrobin/x13s-alarm and the bootable archiso (.iso) image from ironrobin/archiso-x13s.
I have only finished the install, and have not tested a lot of things on the X13s yet, but I am encouraged by the reported features from the x13s-alarm project.
At some point, the custom kernel should no longer be necessary, once enough development time has been given to merge the changes into the Arch Linux ARM default kernel.
Mini review of the X13s
The Thinkpad X13s is replacing my aging Thinkpad T440s.
- The X13s is thinner, smaller, lighter than the T440s while retaining the same basic layout.
- The X13s keyboard is a significant downgrade from the T440s keyboard. The very minimal key travel will take some getting used to.
- The T440s is usually quite silent, but the fan kicks on under load. The X13s has no fan, so it should stay completly silent.
- Because of the fan in the T440s, it almost never gets hot. I wonder if the X13s will get hot under load? We’ll see.. (update: yes, it does get quite hot while compiling the kernel, using all cores; way hotter than you would want on your lap.)
- I don’t have any idea of the performance, but I also don’t care, as I predominantly only use laptops for development on remote servers. Some benchmarks I’ve seen place this at 75% of the speed of an Apple M1, if thats true, it should be pretty decent.
- The X13s screen does not unfold 180 degrees like a true thinkpad, its more like 135 degrees fully opened.
Requirements
- A Thinkpad X13s.
- Two USB thumb drives. (One for the archiso, and another for the UEFI shell. You really only need one USB drive if you just overwrite the drive again, but having two drives lets you boot either tool, which you might need to do several times if you make any mistakes. Sidenote: the official X86 Arch Linux iso has UEFI shell, but for some reason it was left out of ironrobin’s iso.)
- Another computer to prepare the thumb drives.
- Wireless internet access.
Create UEFI shell on a USB drive
The UEFI shell is required in order to edit the system NVRAM to
create/edit the EFI boot entries. Tools like efibootmgr, bootctl,
or grub-install all fail to create the EFI entries from userspace on
the X13s. However, the UEFI shell is a separate low level bootable
program that can (successfully) edit the UEFI variables (NVRAM).
On one of the USB thumb drives, create a FAT32 partition (replace
sdX with your drive name):
gdisk /dev/sdX
- Press
oto create a new (GPT) partition table. - Press
nto create a new partition. - Choose the default start and end size.
- Choose the filesystem type by hex id,
ef00(EFI system partition) - Press
wto write the changes
Format the drive, and download and extract the UEFI shell onto the drive:
mkfs.vfat /dev/sdX1
mount /dev/sdX1 /mnt
cd /mnt
wget https://github.com/pbatard/UEFI-Shell/releases/download/22H2/UEFI-Shell-2.2-22H2-RELEASE.iso
7z x UEFI-Shell-2.2-22H2-RELEASE.iso
rm UEFI-Shell-2.2-22H2-RELEASE.iso
cd /
umount /mnt
This USB drive is now bootable in any UEFI machine.
Create the X13s derrived archiso USB disk
Download latest .iso file: https://ironrobin.net/linux-x13s/alpha/archlinuxarm-2022.09.11-aarch64.iso
Write the .iso file to a USB drive with dd (replace sdX with your thumb drive name):
dd if=archlinuxarm-2022.09.11-aarch64.iso of=/dev/sdX
Boot into the archiso environment
-
Attach the archiso USB drive to the X13s, and turn the machine on.
-
Press F1 during POST to get into the UEFI setup.
-
Disable Secure Boot, and then save the settings, and reboot again.
-
Press F12 during POST to choose an alternate boot device, and choose the USB drive to boot from.
-
The boot menu of the USB drive has two options, one to boot straight from the USB drive, and the other to copy the contents to RAM. The only one that worked was the one that copies itself into RAM.
The system should now be booted and logged into the Bash terminal as root.
Create a network connection
Setup a wireless network connection with wpa_supplicant. Supply your
own WiFi AP SSID and passphrase:
wpa_supplicant -B -i wlan0 -c <(wpa_passphrase "My Wireless AP" "My Wifi Passphrase")
If you want to finish the rest of the installation from a remote machine, you may now connect to the SSH server, which is already running. You must first set the root password before connecting, and find the right IP address to connect to:
passwd root
ip addr show dev wlan0
Prepare drive partitions
Use gdisk to create new partitions on the internal NVME drive:
gdisk /dev/nvme0n1
In the gdisk program, enter the following commands:
pto verify you are configuring the correct device.oto clear the existing partition table and create a new GPT table.nto create a new EFI partition.- Choose partition
1. - Choose the first sector by simply pressing Enter to choose the default.
- Choose the last sector by adding a size:
+512M - Choose the filesystem type by hex id,
ef00(EFI system partition)
- Choose partition
nagain to create the root partition.- Choose partition
2. - Choose the first sector by simply pressing Enter to choose the default.
- Choose the last sector by simply pressing Enter to use all the rest of the space.
- Choose the filesystem type by hex id, simply press Enter to use the default type (
8300Linux filesystem)
- Choose partition
pto review the changes you’ve made.wto write the changes to the disk.
Create the two filesystems:
mkfs.fat -F 32 /dev/nvme0n1p1
mkfs.ext4 /dev/nvme0n1p2
Temporarily mount the two filesystems to /mnt:
mount /dev/nvme0n1p2 /mnt
mkdir -p /mnt/boot
mount /dev/nvme0n1p1 /mnt/boot
Verify they are mounted correctly as shown:
## mount | grep /mnt
/dev/nvme0n1p2 on /mnt type ext4 (rw,relatime)
/dev/nvme0n1p1 on /mnt/boot type vfat (rw,relatime,fmask=0022,dmask=0022,codepage=437,iocharset=ascii,shortname=mixed,utf8,errors=remount-ro)
Loosely following the Generic Arch Linux ARM guide, download the latest generic Arch Linux ARM tarball:
cd /mnt
curl -L http://os.archlinuxarm.org/os/ArchLinuxARM-aarch64-latest.tar.gz > ArchLinuxARM-aarch64-latest.tar.gz
md5sum ArchLinuxARM-aarch64-latest.tar.gz
Verify the MD5sum of the tarball against the published one here.
Set the current date and time, it does not need to be exact, but
should at least be approximately correct (this is used so tar does
not complain about extracting files with future dates, in the next
step. Later on you can install
ntp
to set a more exact time.):
## Use todays date instead of this date:
timedatectl set-time "2023-03-20 12:00:00"
Extract the contents of the root filesystem:
tar xpf ArchLinuxARM-aarch64-latest.tar.gz
Mount the system /proc, /sys, /dev, and /run filesystems into
the new root:
mount -t proc /proc /mnt/proc
mount -t sysfs /sys /mnt/sys
mount -o bind /dev /mnt/dev
mount -o bind /run /mnt/run
mount -o bind /sys/firmware/efi/efivars /mnt/sys/firmware/efi/efivars
Now chroot into the new root filesystem:
chroot /mnt /bin/bash
Update the chroot system:
pacman-key --init
pacman-key --populate archlinuxarm
pacman -Syu
Add the filesystems to the /etc/fstab:
echo "/dev/nvme0n1p2 / ext4 defaults 0 1" >> /etc/fstab
echo "/dev/nvme0n1p1 /boot vfat defaults 0 1" >> /etc/fstab
Add the package repository containing the custom x13s kernel:
cat <<EOF > /etc/pacman.conf

[x13s]
Server = https://lecs.dev/repo
EOF

curl -O https://lecs.dev/repo/public.asc
pacman-key --add public.asc
pacman-key --lsign 9FD0B48BBBD974B80A3310AB6462EE0B8E382F3F
(Note: this repositry seems to be out of date, but it is only required temporarily, in order to get the intial kernel installed. You will most likely want to compile your own kernel and other packages to get new updates, at which point you can then remove this repository. See Post Install.)
Remove the default kernel, and install the custom one from the x13s
repository:
pacman -Sy
pacman -R linux-firmware linux-aarch64
pacman -S linux-x13s
Install the systemd-boot EFI files:
bootctl install
This will ultimately fail to create the boot entry in the EFI nvram,
however it still should install the systemd-boot EFI program in
/boot/EFI/systemd/systemd-bootaa64.efi.
Create the systemd boot entry files:
cat <<EOF > /boot/loader/loader.conf
timeout 3
default 01-arch-linux.conf
EOF

cat <<EOF > /boot/loader/entries/01-arch-linux.conf
title    Arch Linux
linux    Image
initrd   initramfs-linux.img
options  root=/dev/nvme0n1p2 rw dtb=sc8280xp-lenovo-thinkpad-x13s.dtb efi=novamap,noruntime pd_ignore_unused clk_ignore_unused
EOF
Install any additional programs you need, especially wpa_supplicant,
to get wifi working again in the newly installed system:
pacman -S wpa_supplicant
Use the UEFI shell to set the boot entry
Stick the UEFI shell USB drive into the X13s, exit the chroot, and reboot the machine.
Press F12 during the POST, and choose to boot the USB drive. This should boot directly into the UEFI shell.
The UEFI has access to many filesystems, some of which are defined in
the firmware, and some are on disk. You need to find the right UEFI
device name that holds your EFI (/boot) partition. For my system, this
is called FS13, but it may be different on your system.
List all the device names:
map
To find the right device name, manually iterate through all the filesystem names:
ls FS1:
ls FS2:
… go through them all until you find the one that has the right
files. Look for the files Image, initramfs-linux, and
sc8280xp-lenovo-thinkpad-x13s.dtb in the directory listings. For me,
I found them on FS13.
Now you have the information needed to can create a new boot entry. First, display all the current boot entries:
bcfg boot dump
You can remove any boot entry number you don’t want:
bcfg boot rm N
Create the new entry as the first (0) entry. Replace FS13: with
the EFI partition you found above:
bcfg boot add 0 FS13:\EFI\systemd\systemd-bootaa64.efi "systemd-boot manager"
Remove the USB drive, and type reset to reboot.
The machine should now reboot directly from the NVME drive, loading
systemd-boot, and waiting 3 seconds before booting the freshly
installed Arch Linux for the first time.
Add the UEFI shell to EFI partition permanently
If you want to be able to use the UEFI shell again, but without needing the USB drive, install the shell to the EFI partition:
mkdir /tmp/uefi-shell
cd /tmp/uefi-shell
wget https://github.com/pbatard/UEFI-Shell/releases/download/22H2/UEFI-Shell-2.2-22H2-RELEASE.iso
7z x UEFI-Shell-2.2-22H2-RELEASE.iso
rm UEFI-Shell-2.2-22H2-RELEASE.iso
cp efi/boot/bootaa64.efi /boot/shellaa64.efi
You do not need to create a separate loader entry, systemd-boot will
automatically detect it by convention of the filename being
shellaa64.efi.
Post-install
Recompile the Kernel to get the GPU to work
In order to install Wayland, you need the GPU driver to work. The latest working kernel I found for the X13s is here but the package in the repository is old, and not based on this code. So you will need to compile the source code yourself.
Clone the x13s-alarm PKGBUILD repository:
git clone https://github.com/ironrobin/x13s-alarm.git ~/git/vendor/x13s-alarm
Build and install the kernel:
cd ~/git/vendor/x13s-alarm/linux-x13s
time makepkg -s
sudo pacman -U *.pkg.tar.xz
Build and install the firmware (including wifi):
cd ~/git/vendor/x13s-alarm/x13s-firmware
time makepkg -s
sudo pacman -U *.pkg.tar.xz
Build and install the GPU driver / Mesa packages (Adreno A690):
gpg --recv-key 4c95faab3eb073ec
cd ~/git/vendor/x13s-alarm/mesa-a690
time makepkg -s
# After some time it will display a `Core options` screen, just press `q` to proceed.
sudo pacman -U *.pkg.tar.xz
Reboot, and check that the kernel is updated and that your wifi works:
# uname -r
6.3.0-rc2-3-x13s
You can now remove the x13s pacman repository in /etc/pacman.conf,
since you are now using your own compiled versions of the same
packages.
Now you can go ahead and install a graphical environment, like Sway.
Generate Locale
Generate your locale settings, for example:
echo "en_US.UTF-8 UTF-8" >> /etc/locale.gen
locale-gen
localectl set-locale LANG=en_US.UTF-8
Issues
The x13s-alarm repository does not allow opening issues, so I will document and try to update any issues I find here:
Screen Flickering
I have observed brief, infrequent flickering of the screen in Wayland
using wayland native applications (Firefox). There is also constant
flickering in Emacs X11 using XWayland. For the time being, I have
switched to using emacs-nox in the terminal console (using foot,
which is wayland native terminal application) and wl-clipboard with
this emacs
integration for
copy and paste functions. I could apparently compile my own
emacs
using GTK and it would become wayland native.
(Self-compiled linux-x13s-6.3-3-aarch64 and mesa-a690 SHA d6248f4bf)
Crash when switching between virtual consoles
I have intermittently experienced a complete system lockup when
switching from Wayland on console #1, to the tty console on tty2, and
then switching back to Wayland on console #1. (Using Ctrl-Alt-1 and
Ctrl-Alt-2).
(Self-compiled linux-x13s-6.3-3-aarch64 SHA d6248f4bf)
You can discuss this blog on Matrix (Element): #blog-rymcg-tech:enigmacurry.com
This blog is copyright EnigmaCurry and dual-licensed CC-BY-SA and MIT. The source is on github: enigmacurry/blog.rymcg.tech and PRs are welcome. ❤️